What is Hermes?
Hermes is an open source AI agent harness from Nous Research that runs on your own computer, uses tools, remembers past sessions and learns skills. Here is what it does and how to install and set it up.
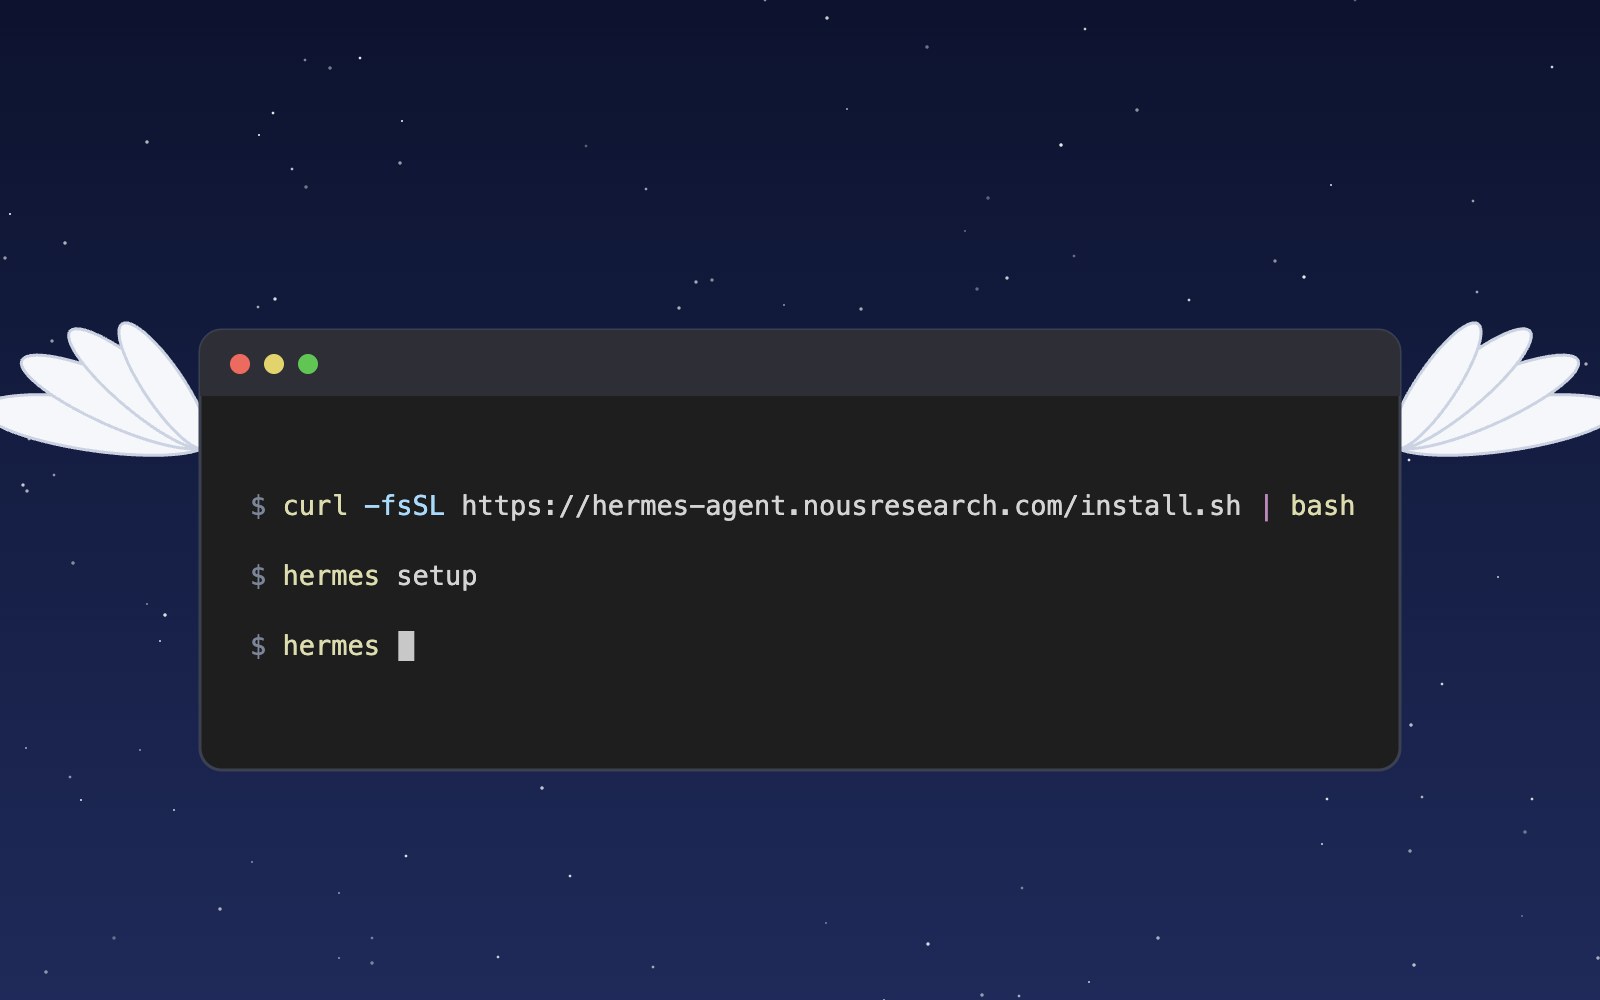
Hermes is an open source AI agent from Nous Research that you install and run on your own computer. Unlike a chat window in a browser tab, it can take actions for you: it runs terminal commands, works with files, searches the web and calls other tools you allow. It also keeps a memory that carries over between sessions, so it can recall earlier conversations and details about how you like to work. On top of that, it can learn reusable skills, run jobs on a schedule and answer you through chat apps you already use. This post walks through what Hermes is, how to install it, how to pick a model and add an API key, and a few simple things to try once it is running.
What Hermes can do
At its core, Hermes is a conversation with a language model that can reach out and do things. The documentation lists dozens of built in tools, grouped into toolsets that cover areas such as file operations, the terminal and web search. You choose which toolsets are switched on, so you stay in control of what the agent is allowed to touch. If you would rather keep it at arm's length, the docs also explain how to have it run its commands inside a Docker container or on a separate server. Hermes also supports the Model Context Protocol, often shortened to MCP, which lets you connect outside servers that add new abilities. That means the agent can grow with your needs without you writing code for it.
Two features set Hermes apart from a plain chatbot. The first is memory. Hermes keeps notes that persist across sessions and can search its own past conversations, so you do not have to explain the same background every time. The second is skills. A skill is a short instruction document, saved as a SKILL.md file, that describes how to handle a particular kind of task step by step. Hermes can load a skill when a task calls for it, and the project describes a learning loop in which the agent writes new skills from experience and refines them as it uses them. You can also write your own skills or install ones that other people have shared.
Scheduled jobs and chat apps
Hermes does not only answer when you type. It includes a built in scheduler, based on the familiar cron idea, that runs tasks at set times. A scheduled job might gather information each morning, check on something every hour or prepare a weekly summary. The results can be delivered to a platform of your choice, so you see them where you already spend time. Because these jobs use the same agent, they have access to the same tools, memory and skills you set up for regular chats. It is worth starting with one small, low risk job so you can see how the output looks before you rely on it for anything important.
The messaging gateway lets you talk to Hermes from chat apps instead of only from a terminal. The documentation covers platforms including Telegram, Discord, Slack, WhatsApp, Signal and Microsoft Teams. Once the gateway is running, you can send a message from your phone and get a reply from the same agent that lives on your computer. The docs also describe security features for this setup, such as command approval and pairing for direct messages, which help make sure only the right people can give the agent instructions. You start the gateway with the hermes gateway command, and each platform has its own setup guide in the documentation, so you can add them one at a time.
How to install Hermes
There are two main ways to install Hermes. On macOS or Windows, the documentation recommends downloading the Hermes Desktop installer from the official website, which sets up both the desktop app and the command line tool. If you only want the command line version, there is a one line install script. On Linux, macOS or WSL2, you run a curl command in your terminal. On Windows without WSL, you run a short PowerShell command instead. People using Android on aarch64 devices have a separate Termux guide. Whichever route you take, it is a good habit to read a script before you run it, and to download it only from the official Hermes site.
When the install script finishes, reload your shell so the new hermes command is available. The docs suggest sourcing your shell configuration file, which is .bashrc for bash or .zshrc for zsh, the default shell on recent versions of macOS. After that, typing hermes starts an interactive chat in your terminal. If anything seems wrong at this point, the hermes doctor command checks your setup and points out common problems. Keeping Hermes current is also simple, because the hermes update command pulls in the latest version. The installation guide in the documentation covers prerequisites, where Hermes stores its data and extra notes for Windows users, so it is worth a quick read.
# Linux / macOS / WSL2
curl -fsSL https://hermes-agent.nousresearch.com/install.sh | bash

# Windows (native), run in PowerShell
iex (irm https://hermes-agent.nousresearch.com/install.ps1)

source ~/.bashrc    # reload shell (or: source ~/.zshrc)
hermes              # start chatting
Choosing a model and adding your API key
The quickstart calls picking a provider the most important setup step, and the hermes model command guides you through it. Hermes works with many providers, including Nous Portal, OpenRouter, OpenAI, Hugging Face, AWS Bedrock and your own custom endpoint, and you can switch between them later without changing any code. Nous Portal is a subscription that you sign in to through your browser, while most other providers ask for an API key. If you would rather configure everything in one pass, hermes setup runs a full wizard that covers providers, tools and other options. The docs also note that the model you choose needs a context window of at least 64K tokens.
An API key works like a password for your account with a model provider, so treat it with the same care. Keep it private, never paste it into a public chat or forum, and never commit it to a Git repository. Hermes helps with this by storing secrets such as keys and tokens in a separate .env file inside its own folder, apart from the regular settings kept in config.yaml. The docs recommend setting values through the command line rather than editing files by hand, and hermes config set handles individual options. If you ever think a key has been exposed, revoke it in your provider's dashboard and create a new one right away.
hermes model        # Choose your LLM provider and model
hermes setup        # Run the full setup wizard (configures everything at once)
First things to try
Once a provider is set, start a session with hermes and ask something simple to confirm that replies are coming through. Then try a request that uses a tool, such as asking Hermes to list the files in a folder or search the web for a topic you care about, and watch what it does. Close the session and run hermes --continue later to pick up where you left off, which is a quick way to check that sessions are being saved. You can also run hermes tools to see which toolsets are enabled and turn off any you do not need. Starting with a small set of tools makes the agent easier to understand.
After the basics work, explore one extra feature at a time. You could write a short skill for a task you repeat often, such as formatting notes in a certain style, and see whether Hermes follows it. You might connect a chat app through the gateway so you can reach the agent while you are away from your desk. Or you could schedule a simple daily job and review what it delivers. If you plan to let Hermes run terminal commands on real projects, consider the Docker backend described in the docs so its actions stay isolated. The documentation also has a learning path page that suggests what to read next based on your experience.
hermes              # Start chatting
hermes --continue   # Resume last session
hermes tools        # Configure which tools are enabled
hermes doctor       # Diagnose any issues
Running a local model
You do not have to send your chats to a cloud provider at all. Hermes can talk to a model running on your own machine, as long as that model is served through an OpenAI compatible endpoint, which tools such as Ollama, LM Studio, vLLM and llama.cpp all provide. The easiest route is to run hermes model and pick the custom endpoint option, then enter the local address, skip the API key and type the model name. If you prefer to edit settings by hand, hermes config edit opens the config.yaml file where Hermes keeps its model settings. Set the provider to custom, point base_url at your local server and name the model you pulled, as in the example below.
Local models come with one catch worth knowing before you start. The docs say Hermes needs a context window of at least 64,000 tokens so it has room for its instructions, its tool list and the conversation, and smaller windows are rejected when it starts. Ollama in particular uses a much lower context length by default on most graphics cards, so the provider guide shows how to raise it, and the example sets context_length to match. It also helps to choose a model trained for tool calling, since Hermes leans on tools for almost everything it does. Once the settings are saved, start hermes as usual and it will send every request to the model on your own computer.
ollama pull qwen2.5-coder:32b
ollama serve         # Starts on port 11434
hermes config edit # Opens config.yaml in your editor# ~/.hermes/config.yaml
model:
default: qwen2.5-coder:32b
provider: custom
base_url: http://localhost:11434/v1
context_length: 64000Hermes gives you an AI agent harness that runs on a computer you control, with tools, memory, skills, schedules and chat access built in. Install it, pick a provider, keep your API key private and add features one at a time as you get comfortable. The official documentation is the best place to go deeper.
More articles

How you can set up pull requests to get an automatic first review
Give every pull request an automatic first review the moment it opens, and send each new pull request and its review to a dedicated Slack channel. Here is how the pieces fit.
Meet the Night Sky UI Kit
Three animated React components for dark, night-sky themed sites: a star cursor, a twinkling starfield and a soft aurora glow. Here is what's inside and how to add it.

Behind the Star Cursor
How the Star Cursor draws its comet tail and sparkle dust, and why it quietly steps aside on touch screens and for anyone who prefers reduced motion.

The moon is, in fact, an inanimate, dusty old rock
The moon is a layered ball of rock about 4.5 billion years old, wrapped in sharp gray dust and almost no air. Here is what it is made of, where it probably came from and why it barely changes.

How solar storms mess with satellites
The sun has weather, and some of it reaches us. Here is how solar flares and the storms that follow can sink satellites, scramble GPS and even trip power grids, and how people keep watch.

Patterns in sound
Sprinkle salt on a drum, play a steady note, and the grains slide into neat lines and rings. Here is why sound draws pictures, who first noticed, how to try it at home, and what all this has in common with a snowflake.

Most of the sound around you goes unheard
Human ears catch only a middle band of all the sound there is. Here is what we miss, which animals hear it, and why the hums and whines from our own gadgets can still get under our skin.

What is LaserSETI?
LaserSETI is a growing network of rooftop cameras that watch huge patches of the night sky for a single-color flash of light. Here is how it works, where the stations are in 2026, and what it has (and has not) found.

Most of the light around you is invisible
Our eyes catch only a thin band of all the light there is, from violet to red. Here is what we miss, which animals see more of it, and how we use the invisible rest every day.

The science of music
Why a good chorus gives you chills, why the Mozart effect fizzled, and why some songs refuse to leave your head. Here is what the research actually says about music, mood and focus.

Bill Nye is still teaching
A science show from the 1990s is still turning up in classrooms. Here is what Bill Nye the Science Guy was, why so many grownups remember it so fondly, and why teachers keep pressing play.

Why is the sky blue?
The sky is blue because the tiny bits of gas in the air reflect blue sunlight around much more than red light, so blue reaches our eyes from every part of the sky.

Why the sun and moon look the same size
The sun is about 400 times wider than the moon and also about 400 times farther away, so the two discs look almost the same size in our sky. That match is a coincidence of timing, and it will not last forever.
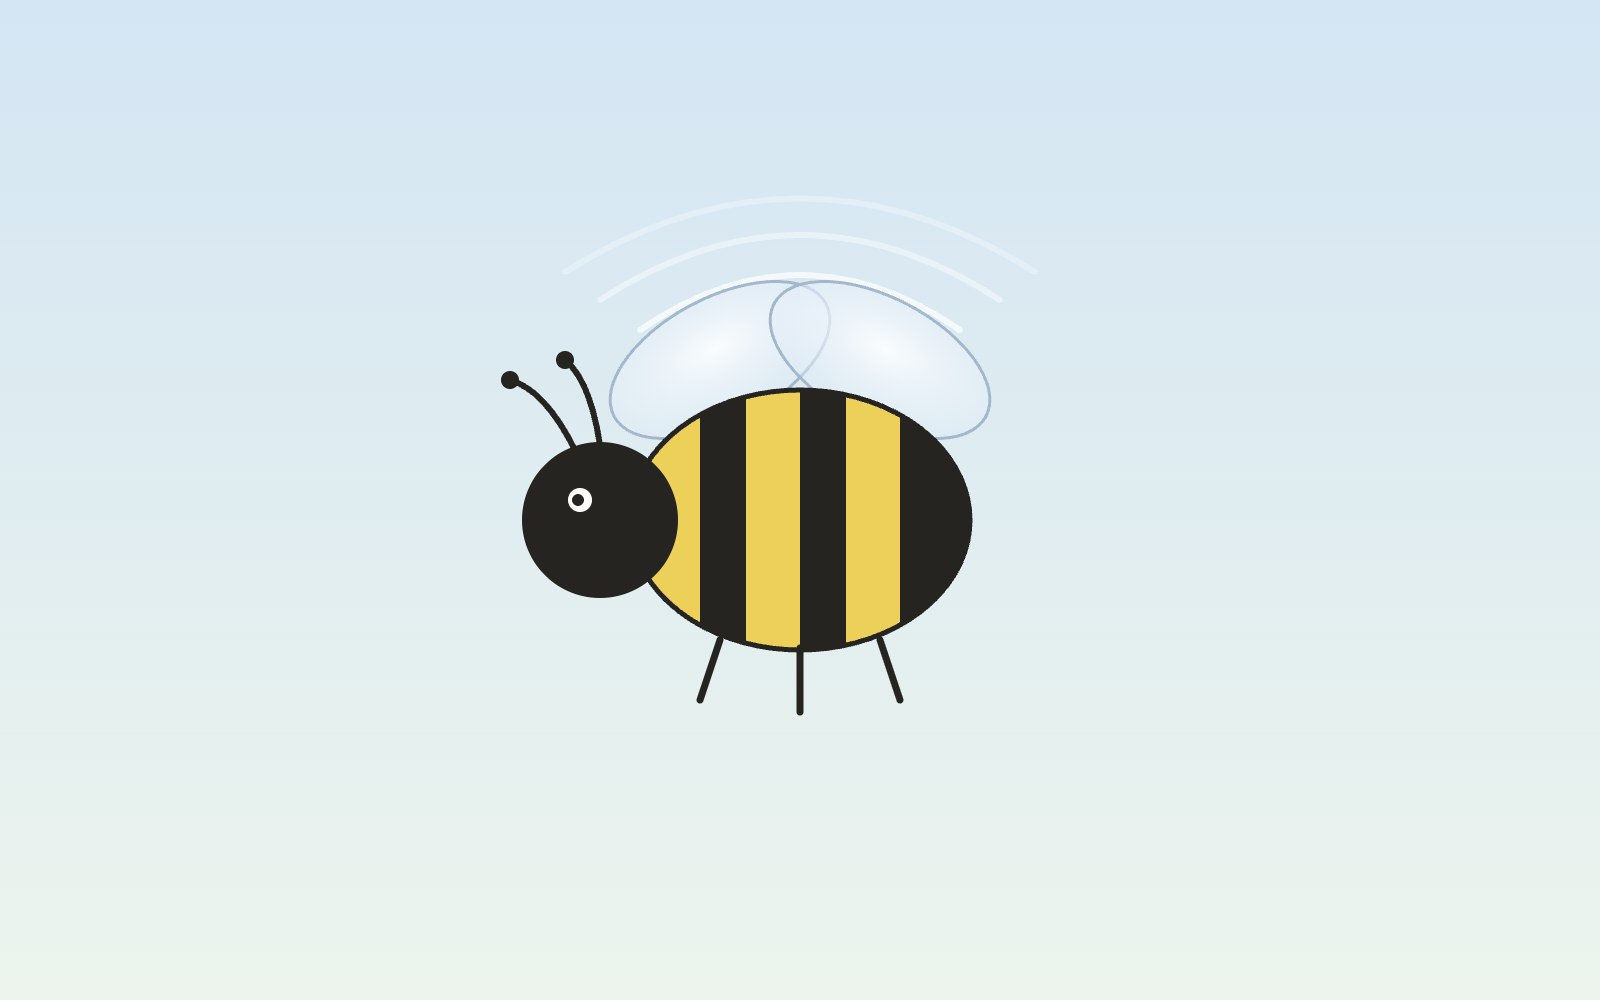
Bees fly more like drones than planes
A bumblebee stays in the air the way a drone or helicopter does, by moving its wings fast instead of racing forward over a stiff wing.

The earth is, in fact, actually round
You can check that Earth is round from a beach, a campsite or a phone call to a friend in another time zone. People worked it out more than two thousand years ago, and one of them even measured it with shadows.

5 trendy UI effects
A star cursor with a comet tail, frosted glass panels, scroll-driven animation, smooth page transitions and gradients that actually move, plus the one tip we would give for each.
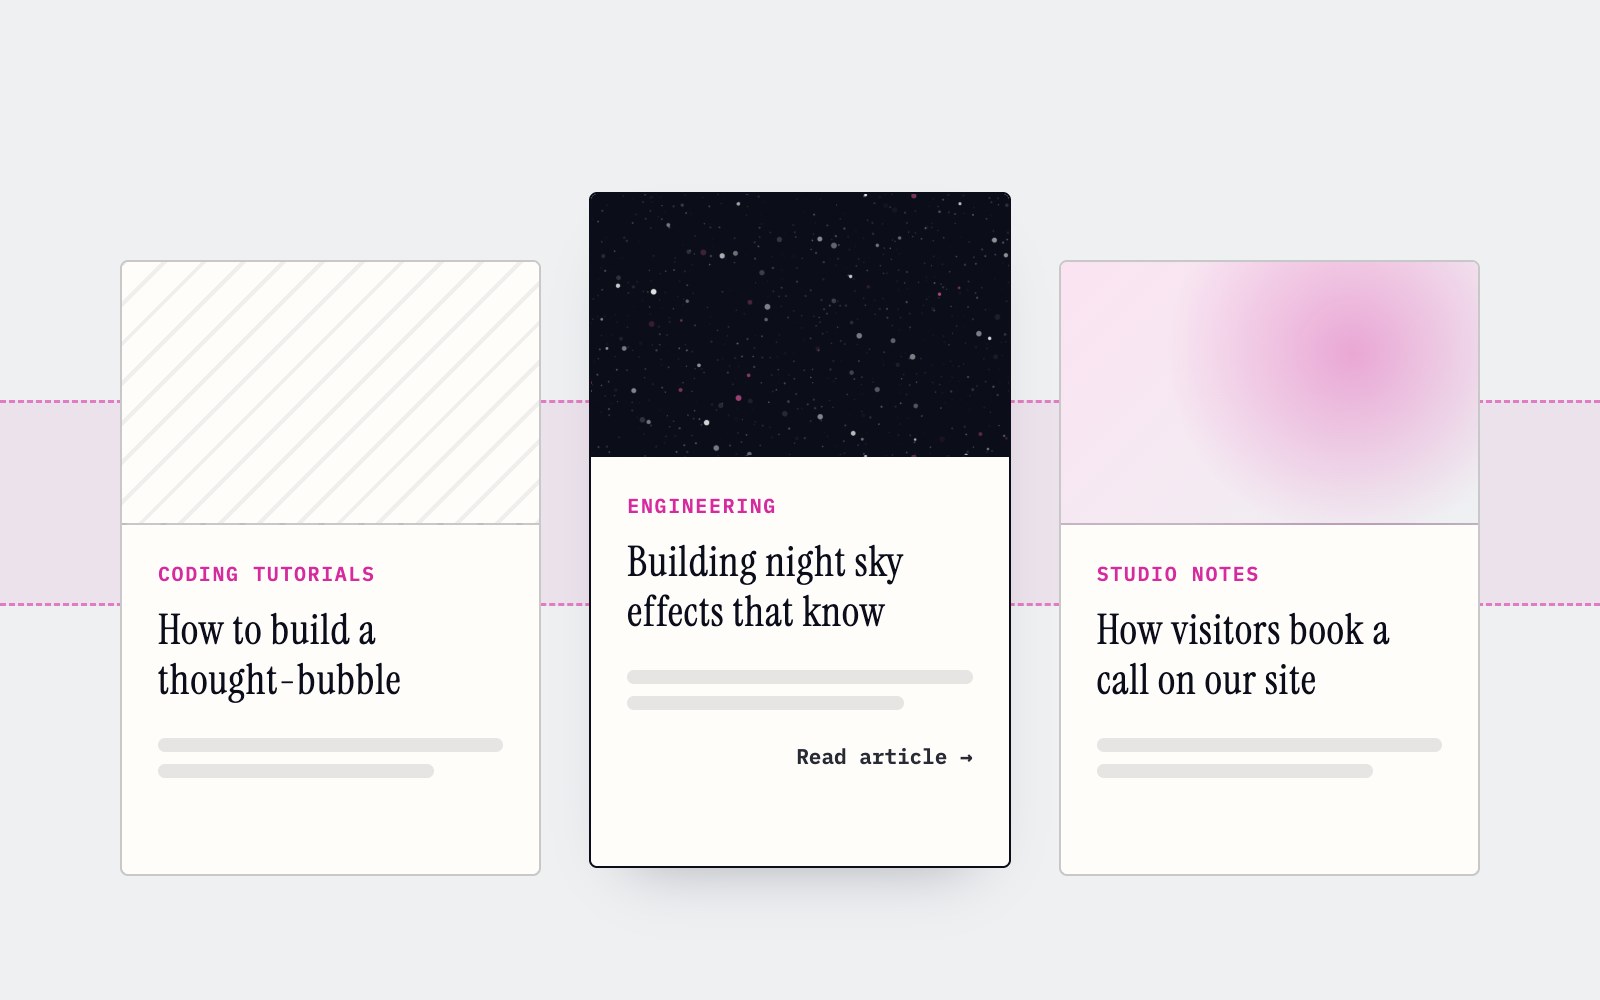
How to make cards lift as you scroll on a phone
Phones can't hover, so our blog cards used to sit flat on mobile. Here's the small CSS class and IntersectionObserver we use to lift whichever card is in the middle of the screen as you scroll.

What llms.txt is, and how we added one to our site
A plain-English look at llms.txt, the proposed markdown file that gives AI assistants a short map of your site, what it can and can't promise, and how we wrote and tested our own.

Tell Google who you are with a few lines of code
Small business names collide, and search engines have to guess which one you meant. Organization structured data is one way a site owner can stop them guessing. Here's what it is, what we put in ours, and how to test it.
How to build a thought-bubble tooltip with pure CSS
A step-by-step CSS tutorial for a tooltip that reads its label from a data attribute, pops up in a rounded bubble, trails off in three little circles and stays clickable, with no JavaScript.

Building night sky effects that know when to sit out
How the Night Sky UI Kit's star cursor, starfield and aurora check the visitor's device and settings before they draw a single frame.

How visitors book a call on our site
Picking a time with us takes a few clicks and never leaves the page. Here is how the booking calendar on our site works, and the small checks that stop two people grabbing the same hour.

Inside our resumable, review-gated video production pipeline
How we built a local seven-step pipeline that turns a history topic into a captioned video, with resumable state, bounded retries, and a human review gate.